- はじめに
- 前提
- rootに変更
- Miniconda3のインストール
- Conda環境の作成
- JupyterHubのインストール
- NativeAuthenticatorのインストール
- DockerSpawnerのインストール
- Dockerのインストール
- Hub APIのポートを解放
- 設定ファイルの作成
- JupyterHubサービスの設定
- Apacheの設定
- SELinuxの無効化
- 再起動
- JupyterHubにアクセス
- Adminユーザの作成
- Adminユーザでログイン
- 一般ユーザの作成
- パスワードの変更
- ユーザの管理
- Jupyterノートブックの保存先
はじめに
Jupyter Notebookにユーザ管理機能を追加したJupyterHub(v1.0.0)を構築する方法をまとめます。
JupyterHubはデフォルトだとPAM認証なのでLinuxのユーザを作成(adduser/passwd)しなければなりませんし、ユーザのサインアップやパスワードの変更機能が提供されていないので実運用するには色々と難点があるんですが、あまり良い環境構築手順がなく苦労しました...。
以降ではこんなことをやります。最低限の構成としてはこれぐらいあれば良いんじゃないかと思います。
- Apacheでリバースプロキシ
- SSL対応
NativeAuthenticatorでユーザのサインアップ・承認、パスワード変更機能を追加DockerSpawnerでNotebookサーバをDockerコンテナで生成
前提
rootに変更
$ sudo su -
Miniconda3のインストール
Anacondaでも良いです。
# wget https://repo.anaconda.com/miniconda/Miniconda3-latest-Linux-x86_64.sh
# bash Miniconda3-latest-Linux-x86_64.sh

...
Do you accept the license terms? [yes|no]
[no] >>> yes

Miniconda3 will now be installed into this location:
/root/miniconda3

  - Press ENTER to confirm the location
  - Press CTRL-C to abort the installation
  - Or specify a different location below

[/root/miniconda3] >>> /opt/miniconda3
...
Do you wish the installer to initialize Miniconda3
by running conda init? [yes|no]
[no] >>> yes

# source ~/.bashrc
# rm Miniconda3-latest-Linux-x86_64.sh
Conda環境の作成
Pythonは3.7にしておきます。
anacondaに関しては、標準のSpawnerである LocalProcessSpawner を使う場合に色々な便利ライブラリが欲しかったので指定しましたが、
結局DockerSpawnerを使うのでいらないと思います。
# conda create -n py37 python=3.7 anaconda
# conda activate py37
JupyterHubのインストール
本記事執筆時点で最新バージョンは1.0.0です。
# conda install -c conda-forge jupyterhub
NativeAuthenticatorのインストール
ユーザのサインアップ・承認、パスワード変更機能を追加するため、NativeAuthenticatorを導入します。 最新版が欲しいので直接リポジトリからインストールします。
# yum install git
# cd ~
# pip install -e git+https://github.com/jupyterhub/nativeauthenticator.git@919a37460cdb46ef536985c0cb0c1109d5e0e483#egg=jupyterhub_nativeauthenticator
# cd src/jupyterhub-nativeauthenticator/nativeauthenticator/
ただどうやら上記のバージョンだとJupyterHubのv1.0.0に対応してないらしく、パスワード変更でエラーになってしまいました。 本家にIssue作成しときましたが、とりあえずコードを直修正します。
handler.ChangePasswordHandler.post のユーザ取得処理に await を追加すれば問題は解消しました。
124     @web.authenticated
125     async def post(self):
126         #user = self.get_current_user()
127         user = await self.get_current_user()
DockerSpawnerのインストール
デフォルトのLocalProcessSpawnerだとLinuxユーザが存在しなければならず煩わしいので、
ユーザごとのNotebookサーバをDockerコンテナとして立ち上げるためDockerSpawnerを導入します。
# pip install dockerspawner
Dockerのインストール
Dockerがないのであればインストールします。
# yum install -y yum-utils device-mapper-persistent-data lvm2
# yum-config-manager --add-repo https://download.docker.com/linux/centos/docker-ce.repo
# yum install -y docker-ce docker-ce-cli containerd.io
# systemctl start docker
# systemctl enable docker
Hub APIのポートを解放
Dockerコンテナからホストで動作するJupyterHubのAPIにアクセスするためFWの設定を変更します。
# firewall-cmd --add-port=8081/tcp --zone=public --permanent
# firewall-cmd --reload
設定ファイルの作成
# mkdir /etc/jupyterhub
# cd /etc/jupyterhub
# jupyterhub --generate-config
# JupyterHub自体はlocalhostで起動
c.JupyterHub.ip = '127.0.0.1'

# Adminユーザを任意の名前で指定
c.Authenticator.admin_users = {'jupyter'}

# DBはSQLite3
c.JupyterHub.db_url = 'sqlite:////etc/jupyterhub/jupyterhub.sqlite'

# NativeAuthenticatorを指定
c.JupyterHub.authenticator_class = 'nativeauthenticator.NativeAuthenticator'

# DockerSpawner関係の設定
c.JupyterHub.hub_connect_ip = '<jupyterhub-server-ip>'
c.JupyterHub.hub_ip = '0.0.0.0'
c.JupyterHub.hub_port = 8081
c.JupyterHub.spawner_class = 'dockerspawner.DockerSpawner'
c.DockerSpawner.hub_connect_ip = '10.0.1.4'

## pandas、matplotlib、seaborn、scikit-learnなどが含まれたscipy-notebookを採用
## https://jupyter-docker-stacks.readthedocs.io/en/latest/using/selecting.html#jupyter-scipy-notebook
c.DockerSpawner.image = 'jupyter/scipy-notebook:6c3390a9292e'

## ノートブックの永続化設定
notebook_dir = '/home/jovyan/work'
c.DockerSpawner.notebook_dir = notebook_dir
c.DockerSpawner.volumes = { 'jupyterhub-user-{username}': notebook_dir }
JupyterHubサービスの設定
[Unit]
Description=Jupyterhub

[Service]
User=root
Environment="PATH=/opt/miniconda3/envs/py37/bin:/opt/miniconda3/condabin:/usr/lib64/qt-3.3/bin:/usr/local/sbin:/usr/local/bin:/sbin:/bin:/usr/sbin:/usr/bin:/root/bin"
ExecStart=/opt/miniconda3/envs/py37/bin/jupyterhub -f /etc/jupyterhub/jupyterhub_config.py
WorkingDirectory=/etc/jupyterhub

[Install]
WantedBy=multi-user.target
JupyterHubを再起動します。
# systemctl enable jupyterhub
# systemctl start jupyterhub
Apacheの設定
Using a reverse proxyを参考に設定します。
<VirtualHost *:443>
  ServerAdmin <server-admin>
  ServerName <jupyterhub-server-hostname>

  # Configure SSL
  SSLEngine on
  SSLProtocol all -SSLv2 -SSLv3
  SSLCipherSuite HIGH:3DES:!aNULL:!MD5:!SEED:!IDEA
  SSLCertificateFile <ssl-certificate-file>
  SSLCertificateKeyFile <ssl-certificate-key-file>
  SSLCertificateChainFile <ssl-certificate-chain-file>

  # Use RewriteEngine to handle websocket connection upgrades
  RewriteEngine On
  RewriteCond %{HTTP:Connection} Upgrade [NC]
  RewriteCond %{HTTP:Upgrade} websocket [NC]
  RewriteRule /(.*) ws://127.0.0.1:8000/$1 [P,L]

  <Location "/">
    # Preserve Host header to avoid cross-origin problems
    ProxyPreserveHost on
    # Proxy to JupyterHub
    ProxyPass         http://127.0.0.1:8000/
    ProxyPassReverse  http://127.0.0.1:8000/
  </Location>
</VirtualHost>
SELinuxの無効化
SELINUX=disabled
再起動
# shutdown -r now
JupyterHubにアクセス
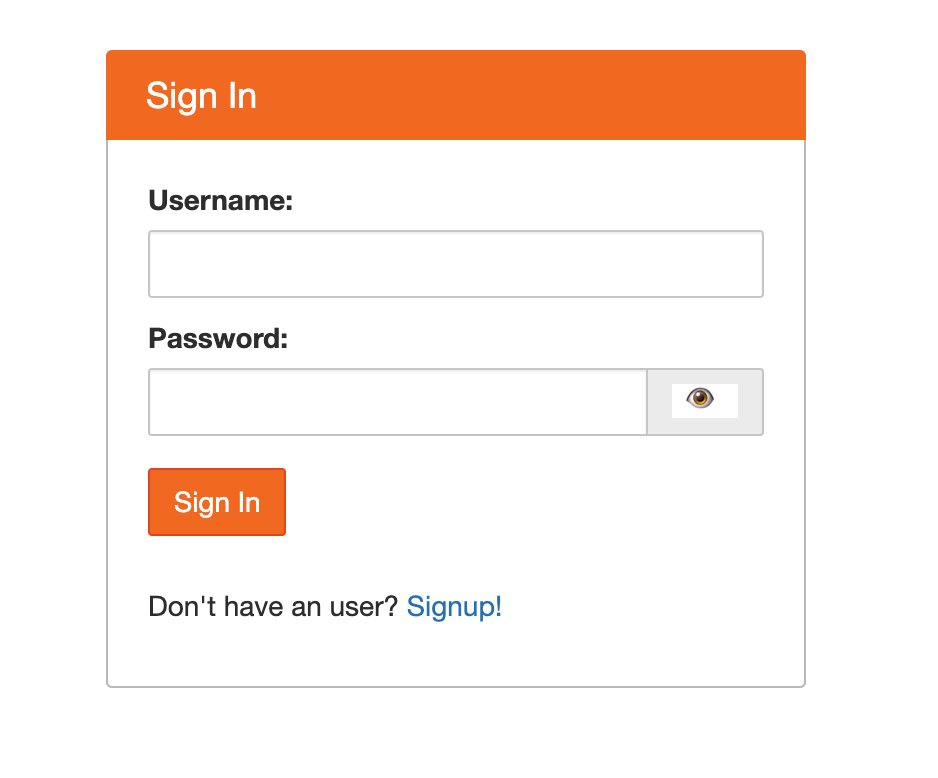
https://jupyterhub-server-hostname にアクセスし、ログイン画面が表示されることを確認します。
Adminユーザの作成
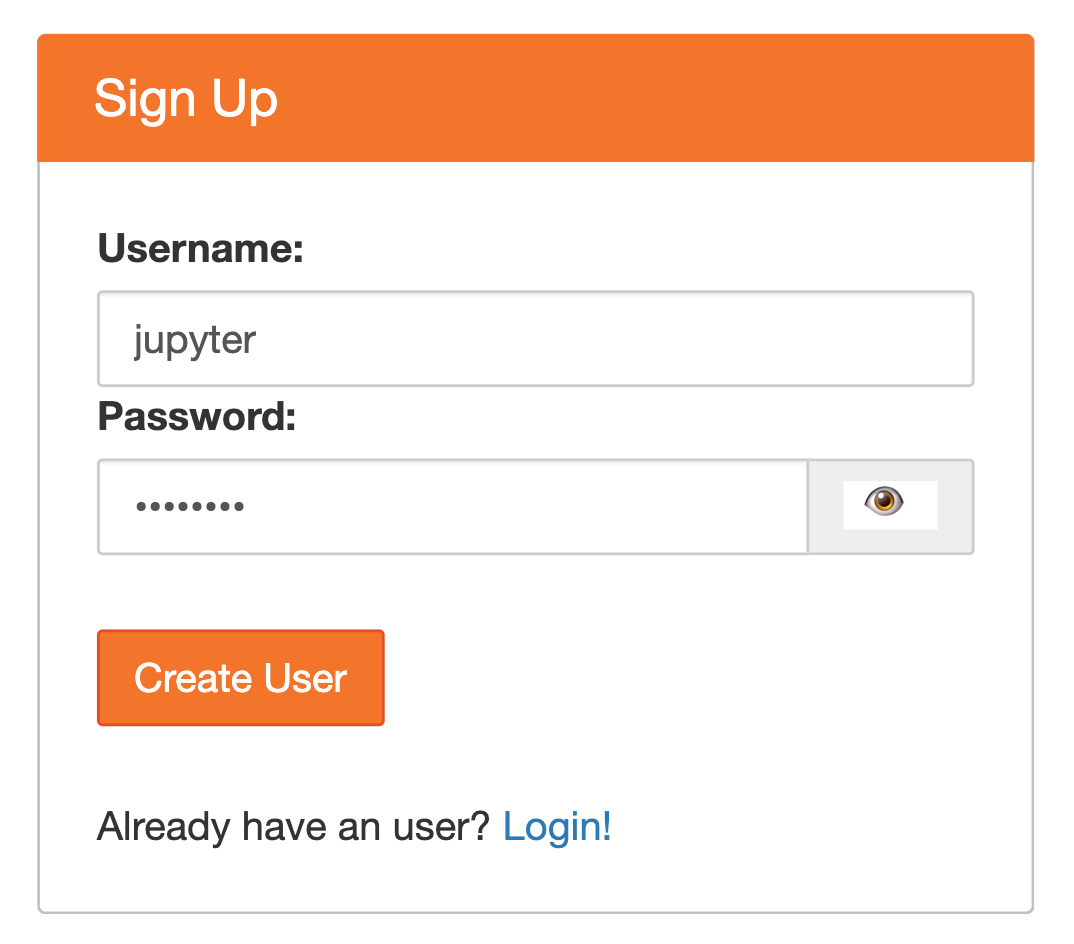
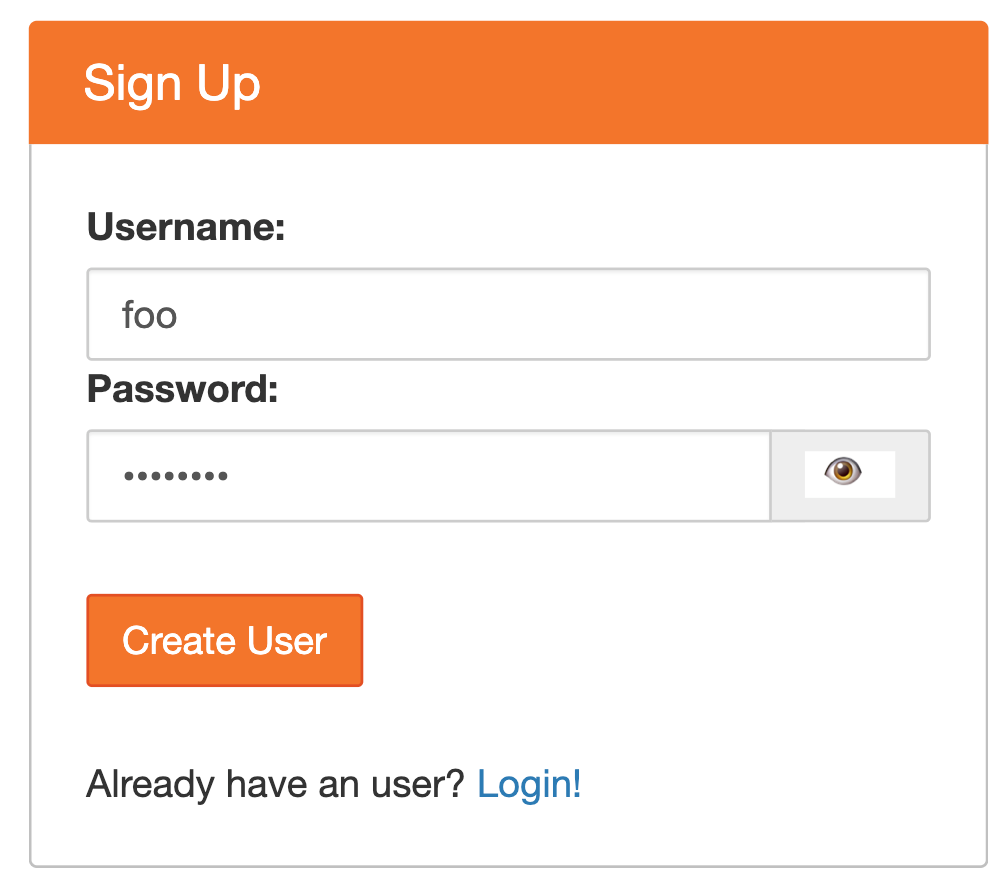
Adminユーザを作成するため、Signup!リンクからサインアップ画面へ遷移します。
ユーザ名にはjupyterhub_config.pyのc.Authenticator.admin_usersに指定したjupyterを入力します。
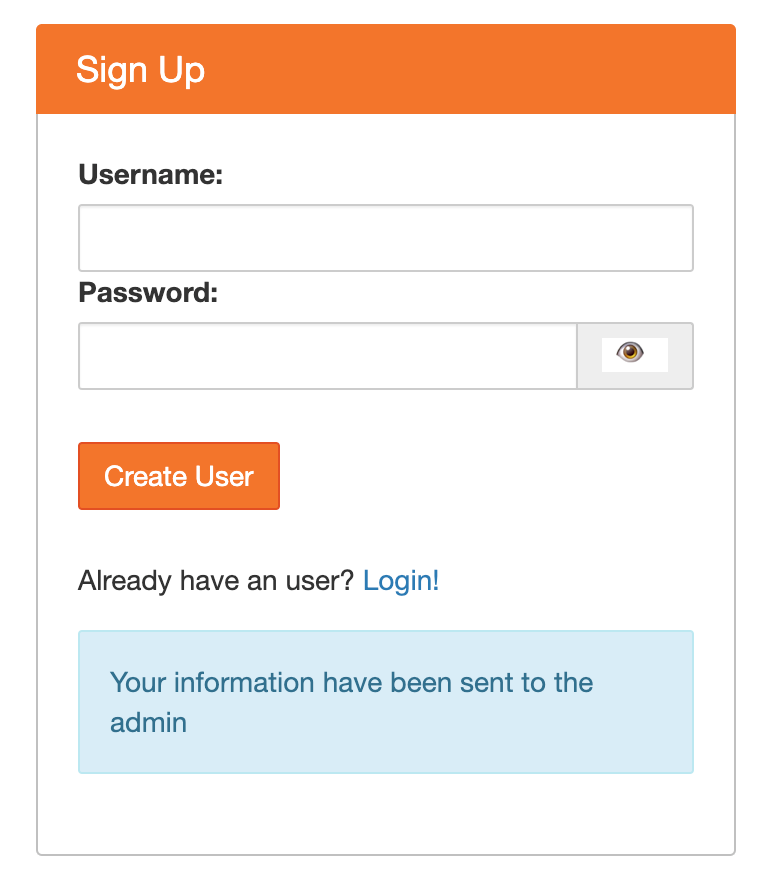
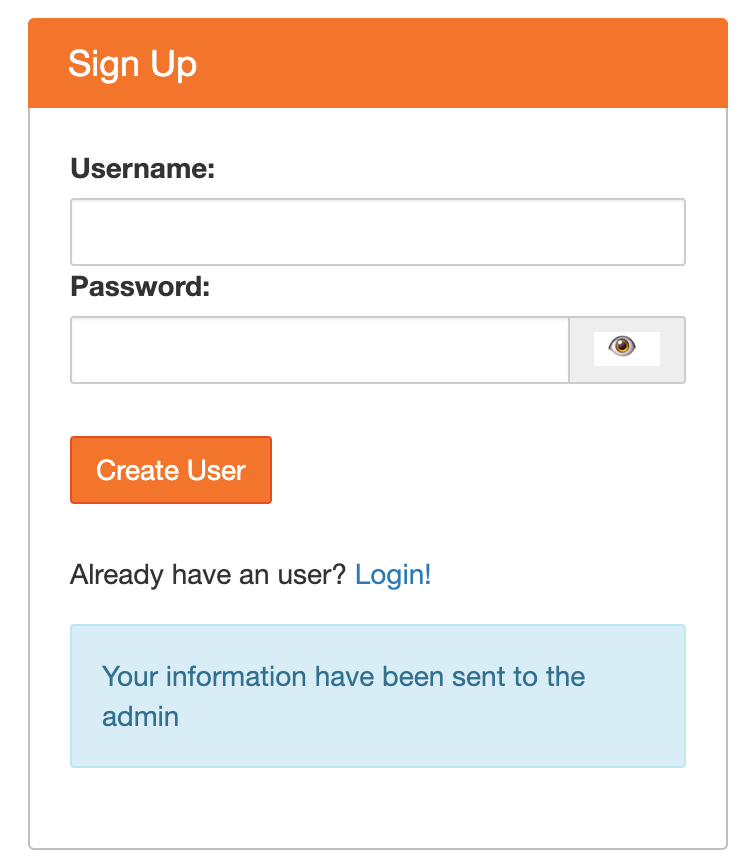
Your information have been sent to the admin と表示されますが、Adminとして設定したjupyterについては自身がAdminなのですぐさまログインできるようになります。
Adminユーザでログイン
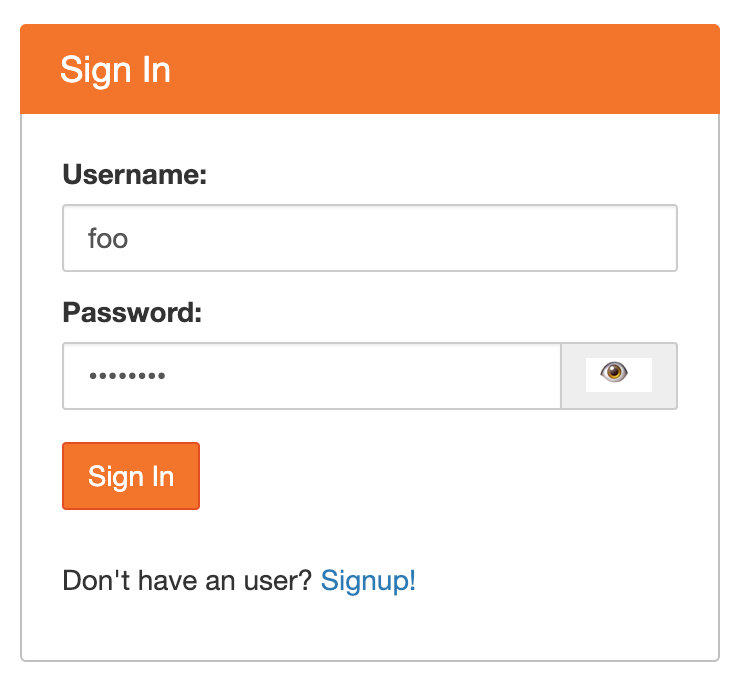
Login!リンクからログイン画面へ遷移し、上記で入力したアカウント情報を用いてログインします。
一般ユーザの作成
上記の手順と同様にサインアップ画面から任意のユーザ名、パスワードでユーザを作成します。
ただし、この時点で一般ユーザはログインすることができず、Adminユーザによる承認が必要となります。
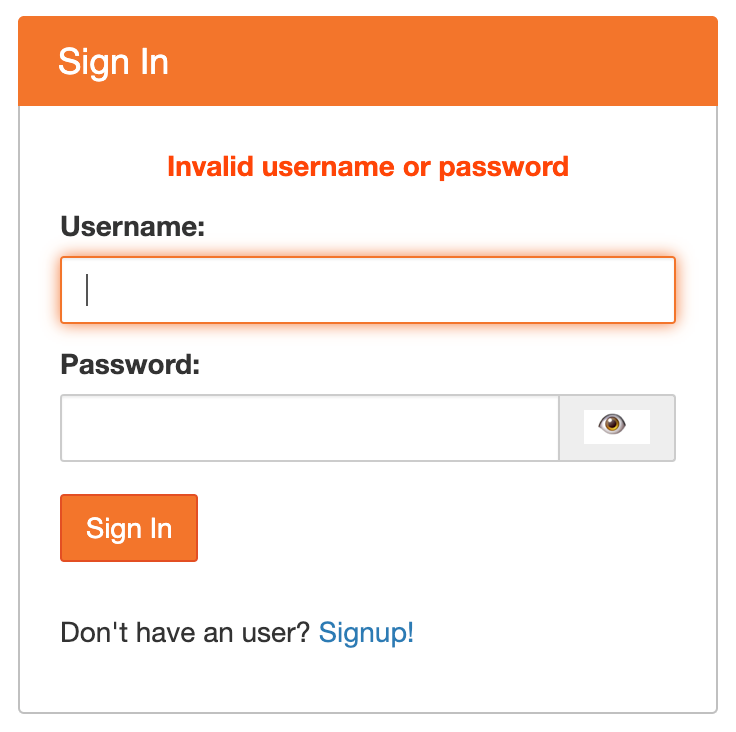
Adminユーザでログインし、/hub/authorizeにアクセスし、新規作成されたユーザを承認することでアカウントが有効になります。


パスワードの変更
パスワードの変更は/hub/change-passwordから実施できます。

ユーザの管理
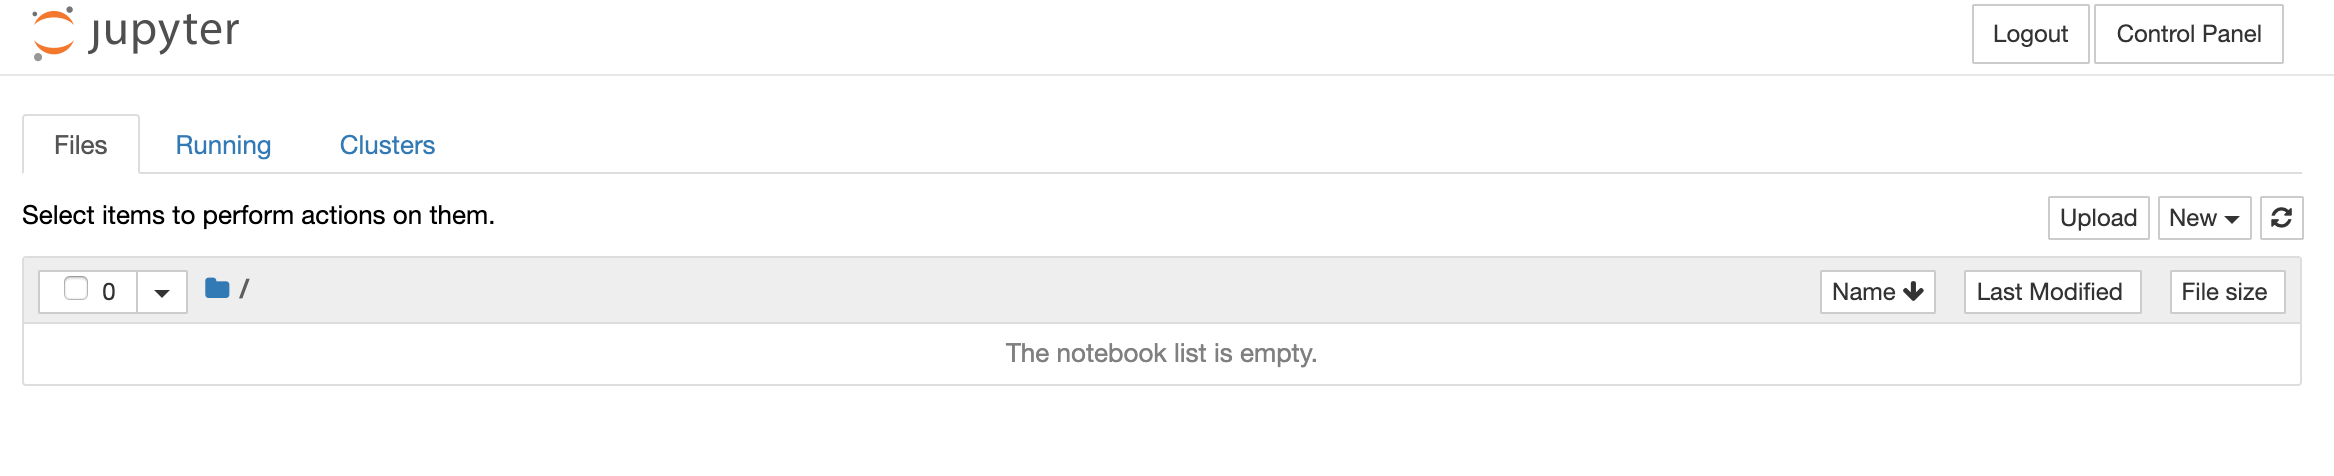
AdminユーザはControl Panel>Adminからユーザの管理(Notebookサーバの停止、ユーザの削除など)を行うことができます。
ただし、Add Usersでユーザを作成してもパスワードが設定されないのでログインができません。使用しないことをおすすめします。

Jupyterノートブックの保存先
各ユーザのJupyterサーバはDockerコンテナとして立ち上がります。
# docker ps
CONTAINER ID        IMAGE                                 COMMAND                  CREATED             STATUS              PORTS                       NAMES
350c3f757230        jupyter/scipy-notebook:6c3390a9292e   "tini -g -- start-no…"   About an hour ago   Up About an hour    127.0.0.1:32911->8888/tcp   jupyter-test
bb36d90c7890        jupyter/scipy-notebook:6c3390a9292e   "tini -g -- start-no…"   2 hours ago         Up 2 hours          127.0.0.1:32910->8888/tcp   jupyter-jupyter
Jupyterノートブックは各コンテナ上の/home/jovyan/work配下に保存されます。
# docker exec -it jupyter-jupyter bash
$ cd work/
$ pwd
/home/jovyan/work
$ ls
foo.ipynb